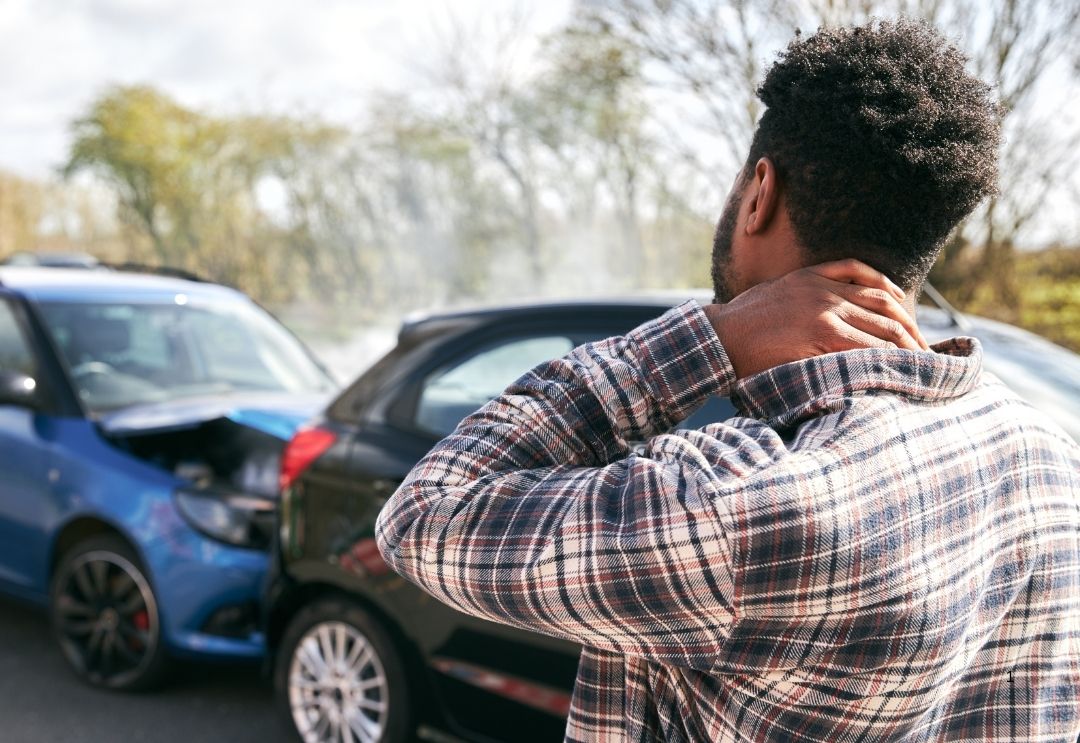
Ever dreamed of giving your car a fresh, head-turning look with a DIY paint job? We get it the thrill of transforming your ride with your own hands is hard to resist. But DIY car painting comes with pitfalls that can turn your dream into a costly nightmare. At Nigro’s Autobody, we’ve seen it all, from patchy finishes to peeling disasters. Our expertise in automotive refinishing, fleet management, collision repair, and towing has taught us what works and what doesn’t. Stay engaged with us till the end if you want to know the common mistakes you need to avoid to nail your DIY car painting project and keep your vehicle looking sharp.
Skipping the Prep Work
Why do so many DIY paint jobs go wrong before the spray can even open? It’s simple: preparation. We can’t stress enough how crucial it is to start with a clean, smooth surface. Skipping sanding, cleaning, or priming is like building a house on sand that won’t last. Dirt, grease, or rust left on your car’s surface will cause the paint to bubble or peel. Start by washing your car thoroughly with a degreaser. Sand down any rough spots or old paint with fine-grit sandpaper (800-1200 grit works well). Don’t rush this step; a smooth base is your canvas. Apply a quality primer to ensure the paint sticks. We’ve seen customers at our shop regret rushing prep, only to face costly fixes later. Take your time, your car deserves it.
A Colorful Mistake in Car Painting
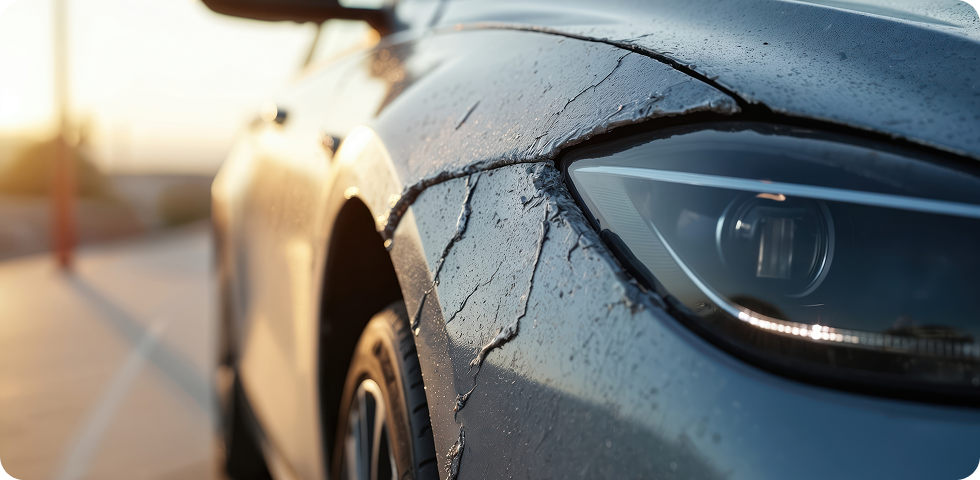
Ever picked a paint that looked perfect in the store but turned into a streaky mess on your car? Choosing the wrong paint type is a common blunder. Automotive paint isn’t one-size-fits-all. Using household spray paint or mismatched formulas can lead to uneven finishes or fading. Stick to paints designed for automotive use, like urethane or acrylic enamel, which offer durability and UV resistance. Match the paint to your car’s material metal, plastic, or fiberglass. Check compatibility with your primer too. If you’re unsure, our team at Nigro’s Autobody can guide you toward the right products for a professional-grade finish, saving you from a redo.
Weather Woes
Where you paint matters as much as how you paint. We’ve heard stories of DIYers spraying in dusty garages or humid backyards, only to find specks or ripples in their finish. Temperature, humidity, and dust are your paint’s worst enemies. Aim for a controlled environment and a clean, well-ventilated garage is ideal. Paint between 60-80°F with low humidity to avoid runs or slow drying. Dust? It’s a silent saboteur. Wet the floor slightly to keep particles down, and use a tack cloth before painting. If your setup isn’t ideal, our automotive refinishing services can deliver a flawless finish without the hassle.
Overdoing the Spray
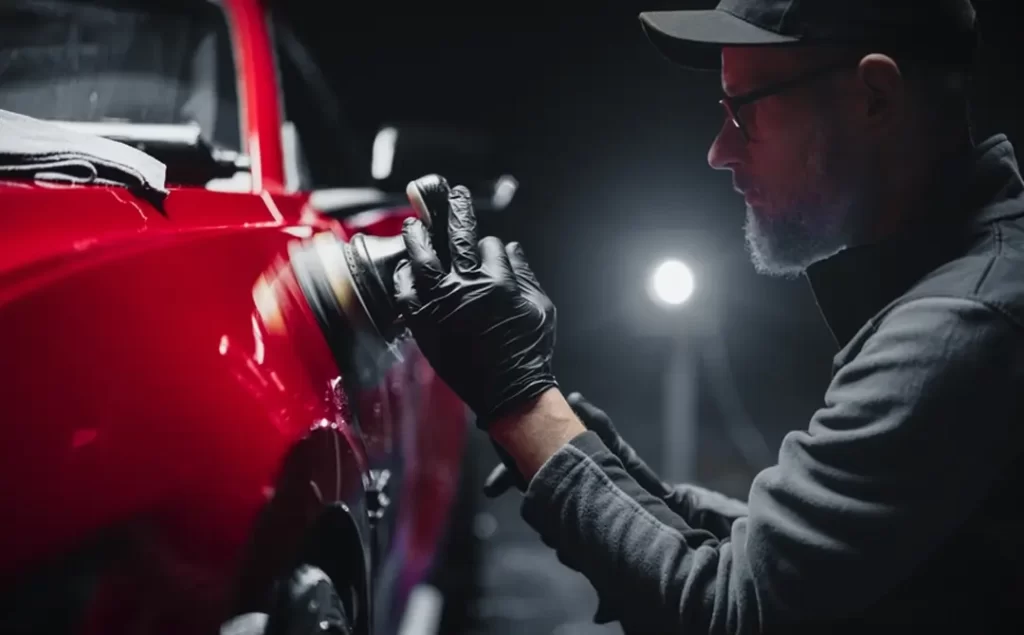
Ever seen a car with paint drips that scream “amateur”? That’s what happens when you go heavy-handed with the spray can. Over-application leads to runs, sags, and uneven coats. We’ve fixed plenty of these at our shop, and trust us, it’s avoidable. Hold the spray can 8-12 inches from the surface and use light, even strokes. Apply multiple thin coats, letting each dry for 10-15 minutes. Patience is your friend here. If you’re aiming for a bold color, three to four light coats beat one thick, drippy mess. Want a pro tip? Practice on a scrap piece of metal first to get the feel.
Leaving Your Work Exposed
Think the paint’s the final step? Not quite. Skipping the clear coat is like leaving your car without sunscreen—it’ll fade fast. A clear coat seals your paint, protects against UV rays, and adds that glossy shine. Without it, your hard work risks chipping or dulling in months. Choose a clear coat compatible with your base paint and apply it in thin layers, just like the paint. Allow proper drying time—usually 24 hours—before handling the car. We often see DIYers at Nigro’s Autobody seeking collision repair for unprotected paint jobs that didn’t last. Don’t let that be you; a clear coat is your paint’s bodyguard.
Rushing the Cure
You’ve painted your car, and it looks amazing—time to hit the road, right? Hold off! Rushing the curing process can ruin your finish. Fresh paint needs time to harden fully, often up to 30 days for a complete cure. Driving or washing too soon can cause scratches or water spots. Keep your car in a dry, dust-free space for at least 48 hours after painting. Avoid waxing or polishing for a month. If life gets in the way and you need a quick, durable solution, our fleet management and refinishing services can handle the job with precision, letting you skip the waiting game.
Neglecting Safety
Ever thought about the fumes you’re breathing while painting? Safety often takes a backseat in DIY projects, but it shouldn’t. Paint fumes are toxic, and sanding dust can harm your lungs. We prioritize safety in every job, and you should too. Wear a respirator mask, not just a dust mask, to protect against vapors. Use gloves to avoid skin contact with chemicals, and wear safety goggles when sanding. Work in a well-ventilated area to reduce fume buildup. Your health matters as much as your car’s finish.
When DIY Isn’t Enough: Call the Pros
Sometimes, DIY car painting doesn’t go as planned. Maybe the color’s off, or the finish is uneven. That’s where we step in. At Nigro’s Autobody, our automotive refinishing and collision repair services deliver showroom-quality results. From towing your vehicle to restoring its shine, we’ve got you covered. Why risk a botched paint job when our experts can make your car look brand new?
Ready to tackle your DIY car painting project? Avoid these mistakes, and you’re halfway to a stunning finish. If you need professional help or top-tier supplies, visit us at Nigro’s Autobody. Your car’s next glow-up is just a spray away!